
“DISCLAIMER:
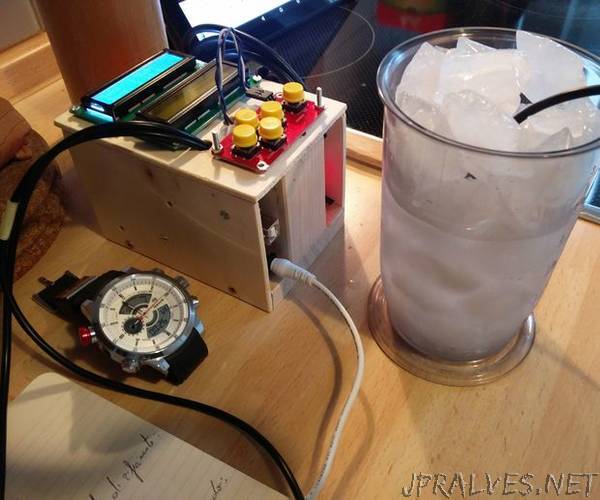
The device you see in the pictures is used in another project as a Thermostat for film developing process. You can find that project here. In order to calibrate a sensor, or more than one, you’ll need just what you’ll find in this project, nothing more, and it’s pretty basic, too! Let’s go!
Here is a list of what you need:
- Arduino UNO (or MEGA)
- DS18B20 sensor(s)
- 4kOhm - 5kOhm resistance (I used a 5k1Ohm)
- LCD screen to read values (you can also use a laptop and just read them on a serial monitor)
- A sketch that use the sensor and show somehow the values
First of all you have to connect your modules and sensor to your controller. I’ll leave the complicated part of the LCD for you to search the web, and I will just tell you how to connect the sensor.
Usually those sensors come with three coloured wires: Black, Red, Yellow. The first two are for energy and the third is for the data. Connect the black to GNN, the red to Vcc (5V) and the yellow on an analogue input, let’s say A0.
Now connect the resistance between the yellow and the red to complete the connections.
Plug in also the LCD (I suggest a simple 16x2 LCD with i2c connection to use just 4 wires total) and you’re done with wires and cables.”