
“Tutorial and codebase walking through making a cellular backhauled gateway which collects data from WiFi devices.
1.0 Project Introduction
Settle in and get ready for a ride because this tutorial covers a lot of the technical buzzwords around IoT. We’ll be making an IoT Gateway with a Raspberry Pi Zero W. To achieve this we’ll put the Pi’s built-in WiFi antenna into AP Mode (Access Point), or in other words, the Pi will be broadcasting its own wifi network for devices to connect.
There will be some NodeMCUs that will connect to the Pi’s WiFi. To make communication between the nodes and Pi extremely simple we’ll use MQTT. The Pi will act as the MQTT Broker (server) which the nodes will publish data.
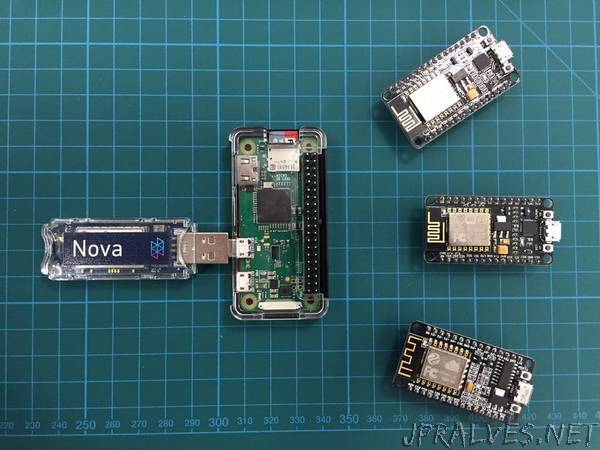
Lastly, we’ll consume the node’s data on the Pi through MQTT Subscribe and perform some data manipulation (edge computing). We’ll then send the modified data through Hologram’s Global Cellular Network to the cloud using Hologram’s Nova, Python SDK, and Data Engine.
2.0 Setup the Raspberry Pi
I like to access my Pi through SSH over my local wifi network, but since we’ll be turning this Pi into a router, we’ll need to find another way to access the Pi. Below are a few other connection options and my thoughts:
Ethernet Cable: Unfortunately the Pi Zero does not have a network jack.
Keyboard and Monitor: I rarely consider this option since I prefer working in the development environment of my main computer, but if there is no other option available and you have the extra peripherals this may be chosen.
TTL Serial Cable: This is a great option, and I would have picked this. Unfortunately, I did not have a USB Console cable available to me while writing this tutorial. Adafruit sells a popular TTL Serial Cable compatible with the Pi.
USB Serial Console: There is a way to turn the single USB port on the Pi into a network interface, giving us SSH access over USB cable, SWEET!
We’ll initially access the Pi through the USB>Serial interface then later we’ll connect to the Pi’s own WiFi network.
Enable USB Serial Console
(modified from https://www.youtube.com/watch?v=aL1pWI2K60w)
Install the latest Raspbian (either Lite or Desktop will work).
Insert SD card into your main computer.
Open a terminal and change directory into the BOOT drive. On Mac OSX:
Modify the config file:
Add dtoverlay=dwc2 to the bottom. Save the file by typing in Control-X then Y then return.
Modify the command line file:
Add modules-load=dwc2,g_ether (after rootwait , before quiet ). Save the file by typing in Control-X then Y then return.
Lastly, enable SSH. SSH is not enabled by default. Adding an empty file named SSH will enable it during the next boot.
Eject SD card and insert into the Pi. Connect the Pi micro USB port to your computer’s USB. Make sure it is the USB port on the Pi Zero and not the PWR port. The Pi should be powered through the USB port.
OSX:
After a minute or two - open a terminal app on your computer and SSH into the Pi (user “pi”, password “raspberry” - no quotes).
Windows:
On Windows we’ll need to setup the RNDS driver to gain the SSH functionality.
Goto Device Manager and find RNDS/Ethernet Gadget under Other devices. Right-click on the device and select update driver software.
Browse my computer
Pick from a list of drivers
Find Microsoft > on the right select Remote NDS Compatible Device
The Pi should now show up and able to be SSH with Putty
Share Internet from Computer to Pi
Your Pi is accessible through SSH, but it still does not have access to the internet. Without the internet, we’re not able to update the Pi or install any additional libraries required by this tutorial.
You should not be able to ping the server (unless you already have internet sharing enabled).
Close the SSH session by typing exit before going forward.
OSX:
Open System Preferences, select Sharing.”