
“In this Instructable I’m going to demonstrate the new Raspberry Pi PICO microcontroller board for Physical Computing and Graphics using the Pimoroni PICO EXPLORER.
I am going to assume that you have installed the Pimoroni UF2 file to your Pico, installed the Thonny Editor on your computer, know how to connect your Pico to your computer’s USB port, enter and run code from Thonny.
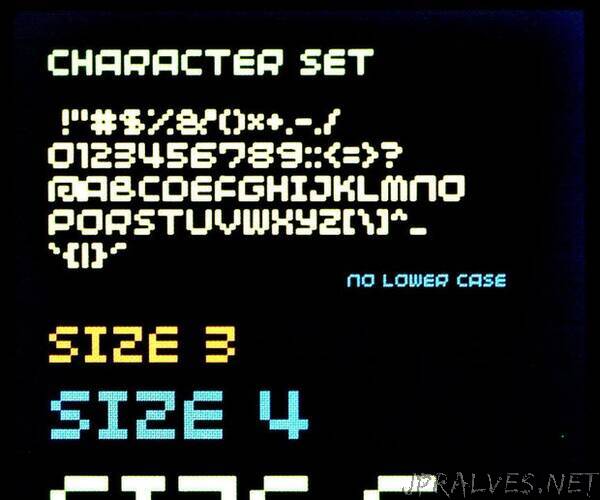
Pimoroni have supplied a few graphics commands - screen clear, filled rectangles and circles, pen colours, pixel, text string and text character printing to the screen.
This demonstration adds lines, hollow rectangles and circles, bar and line graphs, user defined characters and how to combine them in various ways to scroll text cross the screen and react to physical changes as buttons are pressed and a potentiometer knob is turned.
I hope you will find it useful.
Supplies:
Raspberry Pi PICO
Pimoroni Pico Explorer and associated UF2 file
Suitable USB lead
10K Ohm potentiometer
LED
470 Ohm resistor
Jumper wires
Thonny Editor”