“Previously I have shared a few types of weather stations which operated differently. If you haven’t read those articles I recommend you check it out here:
Simple Weather Station Using ESP8266.
Room Weather Station Using Arduino & BME280.
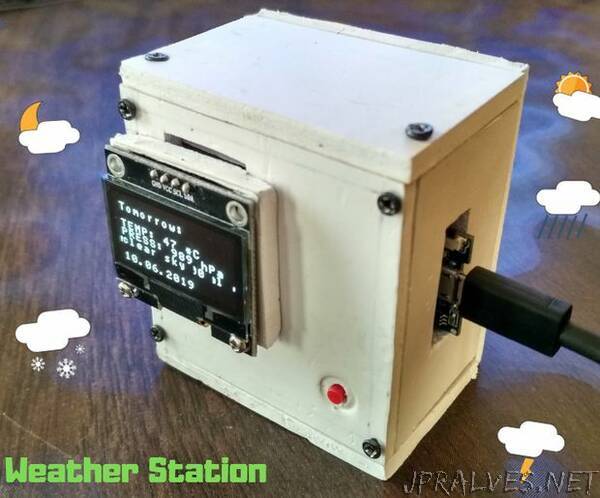
In this instructable I will share an updated weather station with combined features of previous two plus a few additional features. Along with indoor temperature, humidity and pressure we can also fetch current weather condition and forecast for the next day. All this data will be displayed on an OLED screen, webpage and android/ios app.
So without wasting any more time, lets get started.
Supplies:
Here is a list of parts we will be using for this project.
Wemos D1 Mini (Amazon Link): You can use any ESP8266/ESP32 based dev-board
BME280 Sensor (Amazon Link): Make sure you buy “BME280” not to confuse it with “BMP280”
1.3” OLED Display (Amazon Link): I suggest you get the same OLED as I have used, Or you might struggle with it as many OLEDs don’t work with ESP boards.
Pushbutton (Amazon Link): Use a momentary switch as it will switch between different modes
Breadboard with Jumpers (Amazon Link): For prototyping
Prototype Board (Amazon Link): To solder everything to make more permanent prototype.
3.7v battery (Amazon Link): To power the system (Optional)
Along With these parts, we also need software to make everything work
RemoteMe: It is an IoT platform where you need to create an account to use the services. It is totally free.
Arduino IDE: To upload the code.
Here are some tools you might need along the way:
Wire Strippers (Amazon Link)
Soldering Kit (Amazon Link)
Helping Hands (Amazon Link)
Once you have gathered all the material we can move on to the next step.”
