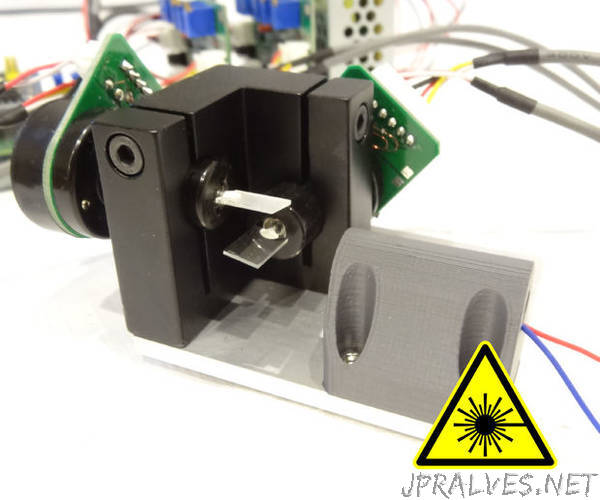
“Hi,
in this Instructable, I want to show you how you can build your own step / dir interface for ILDA standard galvo laser scanners.
As you might know I am also the inventor of the “DIY-SLS-3D-Printer” and the “JRLS 1000 DIY SLS-3D-PRINTER” and while I was building these machines I have start tinkering about how these printers will perform, if I will use a Galvo Scanners instead of a cartesian movement system. However in these days I don’t had the knowledge to program a controller for a galvo scanner. So I have used an existing firmware with cartesian motion.
But today and after some research I found an instructable where the author uses an arduino to create a DIY Laser Galvo show. I thought this is exactly what I am searching for, so I have ordered the parts like in his instructable and made some experiments. After some research I found out, that the Arduino will not perform that well as step / direction interface, so I remixed it for the STM32 microcontroller.
Please remember this controller is just a prototype, but usable for a lot of projects. For example in a DIY SLS 3D printer or a laser engraver.
The features of the Galvo controller are:
conversion from 5V step/dir signals to ILDA standart
120kHz input frequency of (Step / Direction signals)
12bit Output resolution (0,006° per angle)
conversion from polar to linear coordinates
compatible with any motion controller which will create a step and direction signal
center alignment pin (homing routine)”
