
“Yes, yet another weather station. But this one is special! It connects to your WiFi and it can run for more than a year on 2 AA batteries!
Story
I was very intrigued when the very inexpensive ESP8266 module hit the market. All of a sudden you could add full WiFi functionality to basically any project at a very low price.
I was even more intrigued when I read this article about how you can set the module to a very low power state in which it could lay dormant for more than an hour. This opened an interesting opportunity of having battery-powered IoT applications that connect directly to your WiFi router.
I had to see if it could be done!
The Bare Necessities
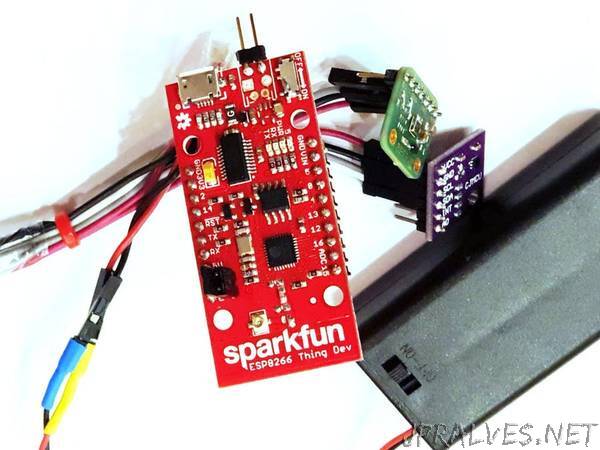
Ok, so the first thing you’ll need is a ESP8266 board. There are dozens on the market, I chose the Sparkfun ESP8266 Thing Dev because it already had a handy USB port for programming and debugging, but it’s really not critical you choose this particular board for the project.
If you are not familiar with the board, it would be a good idea to check Sparkfun’s hookup and programming guide if you are trying to build this project. It explains how to power the board and also how to set up and program it through Arduino.
The board requires some tiny modifications to make it fully low-power, which I will describe below.
First, on the back of the board you’ll find a solder jumper marked PWR_LED. This connects by default the blue power LED. As the board will be battery-powered and the LED draws quite a lot of power, we’ll need to disconnect it. Cut the thin track between the pads with a cutter knife.
The ESP8266 chip can be driven by software into a very low-power state called Deep Sleep. However, in order to wake up from it, it needs to auto-reset itself. To do that, its XPD pin needs to be connected to the RST (RESET) pin. Sparkfun has conveniently thought of that and designed its boards with a way to join the two pins. We’ll need to solder a jumper header to the SLEEP_EN connector marked on the back.”