
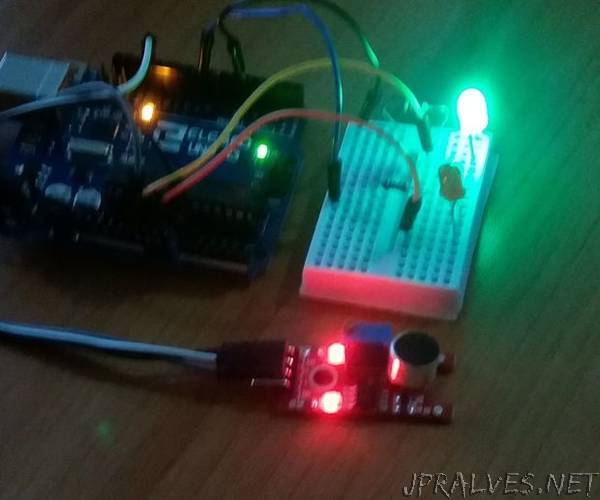
“In this tutorial, you will learn how to use the Arduino Uno and several parts of circuitry as in order to create a simplified sound level reader, which utilizes multiple LED’s to indicate the sound levels and whether or not the sound levels are too loud in certain areas. The final circuit will be relatively simple, with 1 green and 1 red LED, each to indicate whether a certain area is too loud, or just right, these will be attached to a breadboard which will also be attached to the sound sensor. The overall difficulty level of this tutorial is not very challenging, however there are certain parts of the tutorial where some problem solving skills may be required.
In this tutorial you will learn the following skills-
- How to control LED’s
- How to use the sound level sensor to set a threshold for an audio level
- How to correctly create a circuit with 2 LED’s and an analog input sound sensor
- How to use the serial monitor
The following code functions -
- digitalWrite
- pinMode
- int
- delay
- if
- else
- analogRead
- Serial.begin
- Serial.println
Required Materials-
- KY-038 Sound Sensor or similar
- Arduino Uno
- 10 Dupont/Arduino Wires/Cables with male connectors on each end
- 4 Dupont/Arduino Wries/Cables with 1 male and 1 female connector on each end
- 1 Arduino 5mm Red LED
- 1 Arduino 5mm Green LED
- 2 220 ohm Arduino Resistors
- 1 Mini Breadboard
- 1 A-male to B-male USB Cable
- Laptop or Computer with Arduino coding software installed”