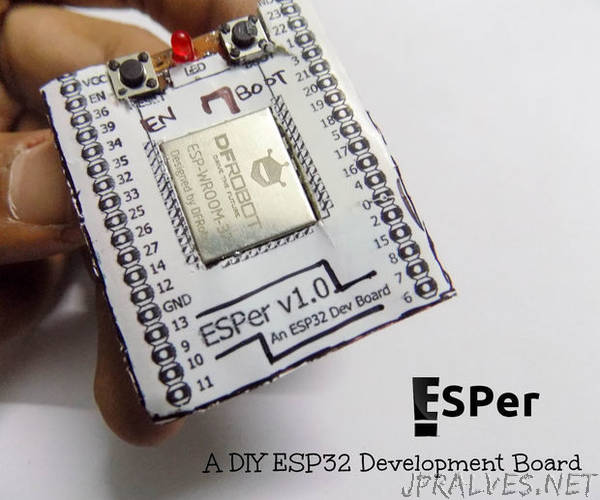
“So recently I had been reading about a lot of IoTs(Internet of Things) and trust me, I just couldn’t wait to test one of these wonderful devices, with the ability to connect to the internet, myself and get my hands on work. Luckily the opportunity arose, thanks to DFRobot, and I was provided with ESP32, a powerful, hybrid and an awesome module.
To begin with, I purposely asked the DFRobot team to send me the ESP32 module rather than the development board because I couldn’t let the thrill of skillful get past my hands. And hence, here we are, making ourselves our own development board for ESP32.
My main aims for this board were as follows:
The development board must be breadboard-friendly. It must have EN(Reset) and FLASH tactile switches. One sided PCB layout.I chose one sided layout because not everyone has access to double sided PCBs, me being one those people. No in-built UART communication circuitry.This was quite a trade-off because the one sided layout could only give enough space. Therefore we’ll be using USB to TTL Converters externally to flash it.Like Arduino, I wanted to have an in-built LED for reducing recurring LED wirings. Compact, yet easy to solder and make. A detailed silkscreen. Use the GND solder pad in ESP32 for better heat loss.Fortunately I was able to fulfill all the above mentioned aims after designing various PCB layouts. That being said, let’s proceed with the instructable.”
