
“Building an 8-bit computer is not exactly trivial. There are always many components involved which are normally connected to some common address and data bus with complex control signal timings for RAM, ROM and IO controller parts and whatnot.
One common way for a hobbyist user to actually build such a contraption is using a pre-engineered PCB on which to solder all necessary parts. While this can be great fun in itself, it does not teach you much about the hardware beyond basic soldering skills.
Another way is creating the whole computer totally on breadboards. There are great resources and instructions available for this and it may actually give you the best learning experience. On the other hand, creating a huge breadboard circuit comes with its own troubles. The cables will often become a total mess, you easily disturb the wrong wires while changing anything, some wires may make bad contact and you may not get the machine to run at a higher system clock.
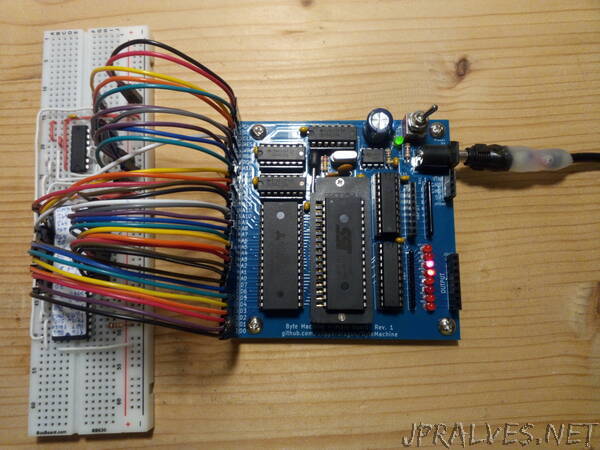
With this design as a building block, I wanted to provide some kind of middle ground. The PCB provides the circuity for the system bus, RAM, ROM, clock, powerup reset and rudimentary IO. You then need to add a relatively small circuit for the CPU board, depending on the type of CPU to use. This can be easily done with a single breadboard and a series of jumper links connecting this with the main board. In my experients this creates a pretty reliable setup which is even able to use clock frequencies of up to 16Mhz (for the 65Cxx types of CPUs). Currently I have built and tested setups for the following CPUs:
65C02
65C816
Z84C00
i8088”