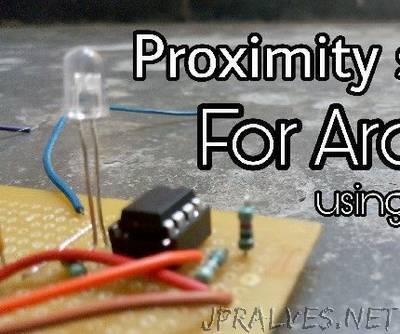
“Hi friend I’m Aravind Chowdary and today we’re going look into the building of an IR proximity sensor. Let’s get started!After setting upyour robots motors and letting it run, one of the first thingsyoull realize, is that most likely it will run straight into a wall.How do get your robot to detect obstacles, you may wonder. Well, there area number of different solutions for this problem, such as radar, sonar(sometimes SODAR in air), bump switches, and one of the most widely usedsolutions, Infrared obstacle detection. This type of sensor is called aproximity sensor, because it can only detect if an obstacle is withinor without a set range. If your application needs an actual distancereturned, then you probably should use sonar or DIRRS (digitalinfrared rangefinding system). An infrared proximity detector (IRPD),works by illuminating in front of the robot with infrared light, thistype of light is invisible to the human eye, but your home camcordercan see this type of light quite well. When the light is reflected by an obstaclein front of the robot, your IR detectors will register that light, and, anobstacle. Variables such as texture, surface, color , and reflectivityaffect reliability. The type of infrared light used is called nearinfrared, and operates at 800 1000 nm, as opposed to the IR lightused in security systems or night vision goggles, which is called thefar infrared type of light, and operates from 2000 10,000 nm. Thetype of detectors used in this type of IRPD only allows a certain frequency of light to pass, usually from 35 to40 kHz. Since there are very few sources of IR light at these frequenciesthere is very little interference. In the system we will be building,we will us a 555 timer to produce the desired frequency. There aremany other type of frequency generating circuits, but the 555 is theeasiest. This frequency can be tuned using a potentiometer.”
