
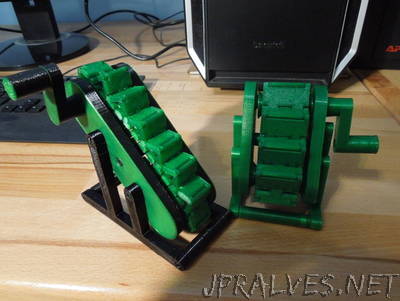
“The chassis is now a lot less bulky and consists of multiple parts, the pulleys move more easily now. Before printing everything it is best to print a couple chain links to see if they work. When using multiple links per step the chain link with the socket on top can be used to connect both the horizontal and vertical parts of one step, the link without the socket can be used in between. The pulley should be big enough that the chain with the mounted steps can bend around it, so it is best to print one of the pulleys next to try that out. The pulleys with the mounted chain are placed on the axes in a way that the hole in the chassis aligns with the square hole of one of the pulleys. Make sure the pulleys rotate easily. You will need 12 pins to assemble the chassis and mount the handle and stands. Inserting the pins can be quite tough, I did it carefully with pliers and a hammer. The crank can be joined with the handle and mounted trough the hole of the chassis with pins. The pictures should give a good overview how the parts connect together.”