
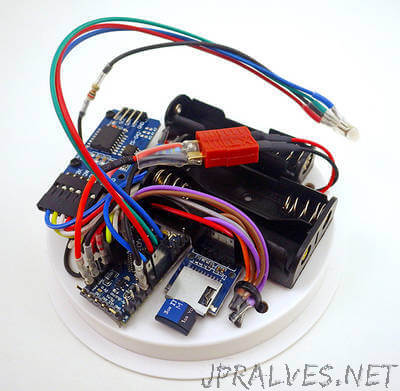
“Its been almost a year since the last stand-alone logger tutorial, and I continue to receive questions from people adopting the platform in education settings. That feedback makes it pretty clear that soldering is the biggest stumbling block for beginners, so I have reconfigured the promini build to use pre-made DuPont style jumper cables wherever possible. The basic wiring diagram is unchanged, but I use a different SD card adapter and changed resistor locations to reduce component prep and make the overall assembly easier. Cave Pearl data loggersThis comes at the expense of having more wires to deal with on the limited real-estate of the knock-out cap, and re-positioning the modules to make room for the overhang of the connector housings. The overall result is a little uglier, and not quite as robust to knocking about as a unit where every connection is soldered in place, but the platform takes about a third less time to build (~2.5h total) with a part cost under ten bucks before you add sensors.”