
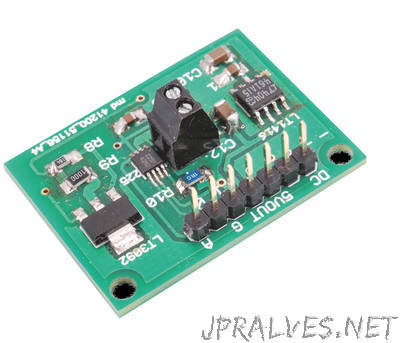
“This is an example of a simple and cheap milliohmmeter that can be made by every maker. The core of the circuit are a current source (LT3092) and a current sense (INA225): a costant current flows through the milliohm resistor under test and the voltage at the current sense output gives the value of the resistor (V=R*I). The milliohmmeter can be used as a stand alone instrument by adding a MCU with at least 10 bit ADC and a LCD display or it can be used togheter with a DMM.”